
Interior painting is one of the fastest ways to change how a space feels. It can also highlight every dent, patch, and wobbly corner if the basics are missed. In Sydney homes and workspaces, light is often the real judge. Afternoon sun, downlights, and glossy surfaces can make “good enough” look rough pretty quickly. This guide covers what to plan, what to check, and what usually causes the rework.
What a “good” interior paint job actually delivers
A quality interior paint job should be even, durable, and easy to live with.
That means:
consistent colour across the whole wall (no patchy bits)
clean cut lines where walls meet ceilings and trims
a finish that can handle normal wiping without burnishing or peeling
touch-ups that don’t scream “repair” two weeks later
Paint isn’t just colour. It’s a coating system that has to bond to what’s already there.
Step 1: Pick the right sheen before you pick the colour
Most colour regrets are really sheen regrets.
A higher sheen reflects more light, which makes bumps and patch edges stand out. Lower sheen hides more, but it can mark more easily.
A practical, room-by-room guide:
Matte/flat: great for hiding flaws, best in low-traffic rooms
Low-sheen/eggshell: the safe all-rounder for living areas and bedrooms
Satin: tougher and more wipeable, but less forgiving on imperfect walls
Semi-gloss/gloss: ideal for trims and doors, highlights brush and roller texture
Shine shows sins.
For many Sydney interiors, low-sheen on walls plus semi-gloss on trims is a balanced setup: it looks clean, it’s practical, and it doesn’t throw every wall ripple into the spotlight.
Ceilings usually suit a flat ceiling paint to reduce reflections and hide joints.
Step 2: Prep for the light, not the job size
Prep is where most interior paint jobs are won or lost.
If you only do one thing well, do this.
Clean first (even if the wall “looks fine”)
Hallways, kitchens, and around switches often have skin oils and grime you can’t see clearly. Paint doesn’t stick well to that. A gentle wash and rinse can stop peeling and “fish-eye” defects later.
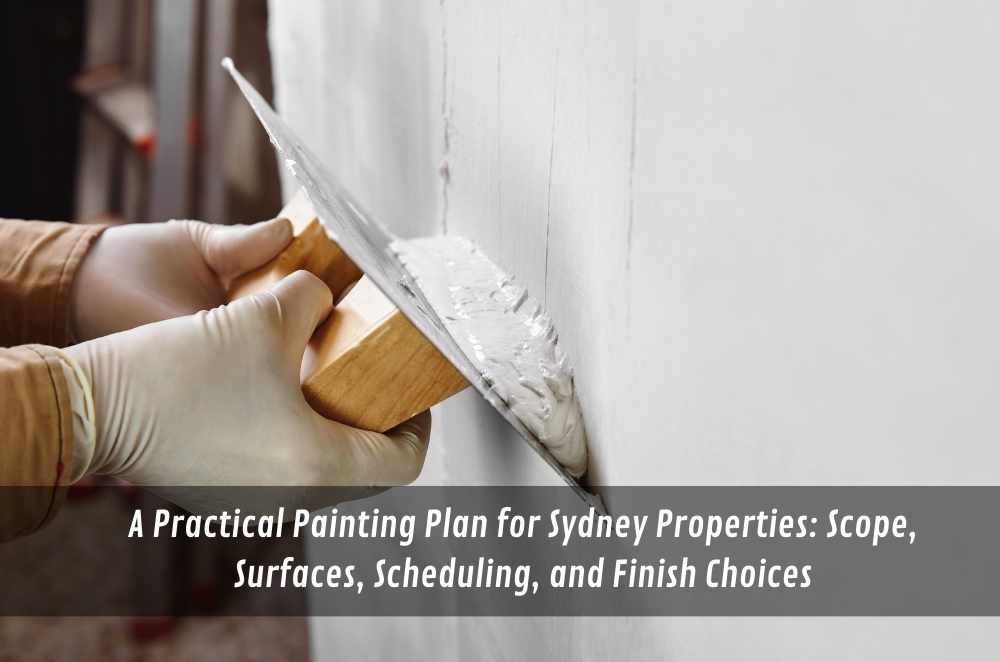
Patch, then feather
Fill cracks and holes, then sand so repairs fade smoothly into the wall. If you can feel a ridge with your hand, you’ll see it once paint catches the light.
Prime where it matters
Primer isn’t an “extra”. It’s the bridge between the surface and the top coat.
A primer is commonly needed when you have:
new plaster or fresh repairs
stained areas (water marks, smoke, tannins)
glossy old paint
big colour changes (dark to light or vice versa)
Trying to “just add another coat” can waste time and still look uneven.
Choosing paint that suits how the room is used
Different rooms wear differently, so match the paint to the job.
Living rooms and bedrooms
Low-sheen is usually spot on. It’s soft enough to hide small defects but durable enough for normal cleaning.
Matte can look beautiful, but it can be less forgiving with fingerprints in kids’ rooms or narrow hallways.
Kitchens
Kitchens need a washable coating system, not just a nice colour. Grease and steam settle on walls over time. Cleaning and the right finish make the difference.
A tough, low-sheen or satin wall paint is often the practical call here.
Bathrooms and laundries
Moisture is the enemy of paint adhesion.
Paint can help with mould resistance, but it won’t fix a damp room. Ventilation and dry surfaces matter just as much as the product choice.
If the bathroom doesn’t vent well, you’ll keep repainting.
Offices, retail, and commercial interiors
Foot traffic, bags brushing walls, and regular cleaning all add up. Choose a finish that can handle wiping, and plan the job in stages so the space can still operate.
The details people notice: trims, doors, and cut lines
A room can have nice walls and still look unfinished.
Trim work is often what makes it feel “done”.
For skirting boards, architraves, and doors, a harder-wearing enamel in a semi-gloss finish is common. It’s also where prep matters most: old glossy trim usually needs a sand and proper adhesion prep so the new coat doesn’t peel.
Doors are handled constantly. Thin, even coats beat thick ones.
Clean cut lines (where walls meet ceilings, trims, or feature colours) come from patience, good masking, and not rushing the recoat window.
DIY or professional: how to decide without guessing
DIY can be fine for a spare room with clean walls and plenty of time.
It gets harder when you have:
high ceilings, stairwells, or tricky edges
Lots of patching or uneven old paint
strict timelines (moving, reopening, end-of-lease)
colour changes that need primer to look even
apartments or commercial spaces where access and hours matter
If you’re coordinating multiple rooms or a working site, it often helps to compare your plan to what a full interior scope includes (prep, protection, coatings, and clean-up). This overview from interior painting Sydney offers a useful reference for what’s typically covered.
A clear scope prevents most surprises.
How to get a quote that matches reality
Whether you’re hiring someone or planning your own materials, make sure the scope is clear.
Ask (or answer) these points:
What’s included: walls only, or ceilings, trims, and doors too
how repairs are handled: filling, sanding, stain treatment, priming
How many coats and where the primer is expected
What protection is used for floors, furniture, and fixtures
What access hours apply (especially for strata and commercial sites)
what’s excluded (like major plaster repairs or water damage fixes)
A quick walk-through with painter’s tape on key defects can align everyone fast.
Three practical opinions
Prep is the best place to spend effort.
Low-sheen walls suit most Sydney interiors.
Build in time for daylight touch-ups.
Key Takeaways
Sheen choice affects how flaws show up; low-sheen walls are a safe default.
Prep (cleaning, sanding, priming) drives the final look more than paint colour.
Kitchens and bathrooms need the right system plus ventilation, or problems return.
Sydney's humidity and airflow can change drying and curing times—plan a buffer.
A clear scope (prep, coats, inclusions) avoids surprise costs and rework.
Common questions we hear from Australian businesses
How can we repaint a workspace without shutting down?
Usually, staging the job is the best approach: prep after hours, paint in zones, and keep one room as a buffer. Next step: map your quiet periods and set a sequence (back rooms first, reception last). In Sydney, building access rules and noise limits can affect timing, so check those early.
If we can’t afford to do every room, where should we start?
It depends on what’s driving the change—clients, staff morale, or wear and tear. In most cases, start with the areas people see first and the walls that catch harsh light. Next step: do a walk-through at the brightest time of day and list what stands out. Sydney downlights can make patch marks obvious, so prioritise prep on those walls.
When can we wipe or clean freshly painted walls?
Usually, the wall will feel dry within hours, but it can take longer to fully cure. Next step: avoid scrubbing for the first couple of weeks and treat early marks gently. In Sydney’s humid periods, curing can run slower, so keep steady airflow rather than sealing the room up.
Are feature walls worth it, or do they create more work later?
It depends on the colour and the wall condition. Dark colours and higher sheen tend to show defects more, so feature walls often need better prep than the rest. Next step: choose the finish first and inspect the wall under an angled light before committing. In many Sydney apartments, side light from windows makes the texture more noticeable, so a smoother wall gives a cleaner result.


Write a comment ...